


5 Pcs 30×12 Wire Shelf Cover – Engineered Wood Wire Rack Covers for Shelves, Rustic Farmhouse Style for Pantry, Closet (5 pcs, 30×12 inch)

 4.2 (147 items)
 Limited Time Sale
$57.00 cheaper than the new price!!
Free cash-on-delivery fees for purchases over $99
Product details
| Management number | 221384274 | Release Date | 2026/05/03 | List Price | $38.00 | Model Number | 221384274 | ||
|---|---|---|---|---|---|---|---|---|---|
| Category | |||||||||
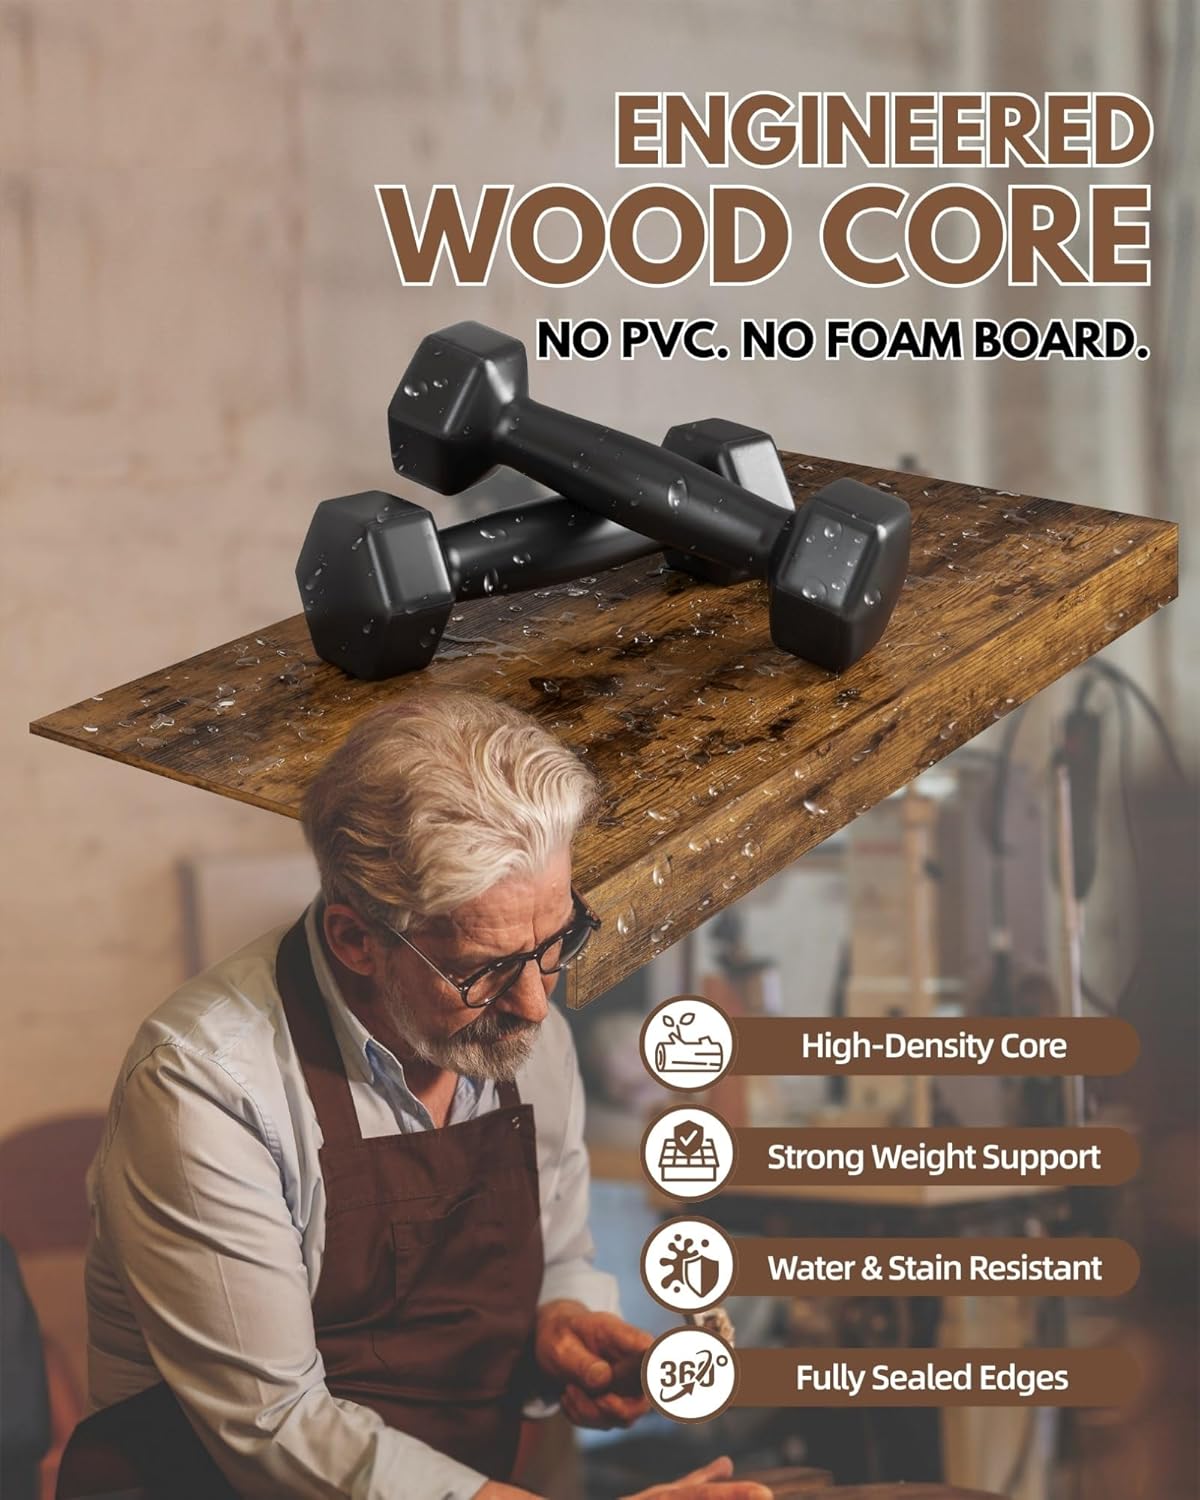
- [Durable Engineered Wood]: Made from high-density engineered wood, these wooden shelf covers for wire shelving resist dents and sagging under heavy items. A 5-pack fits standard 30"W × 12"D wire shelves with reliable strength
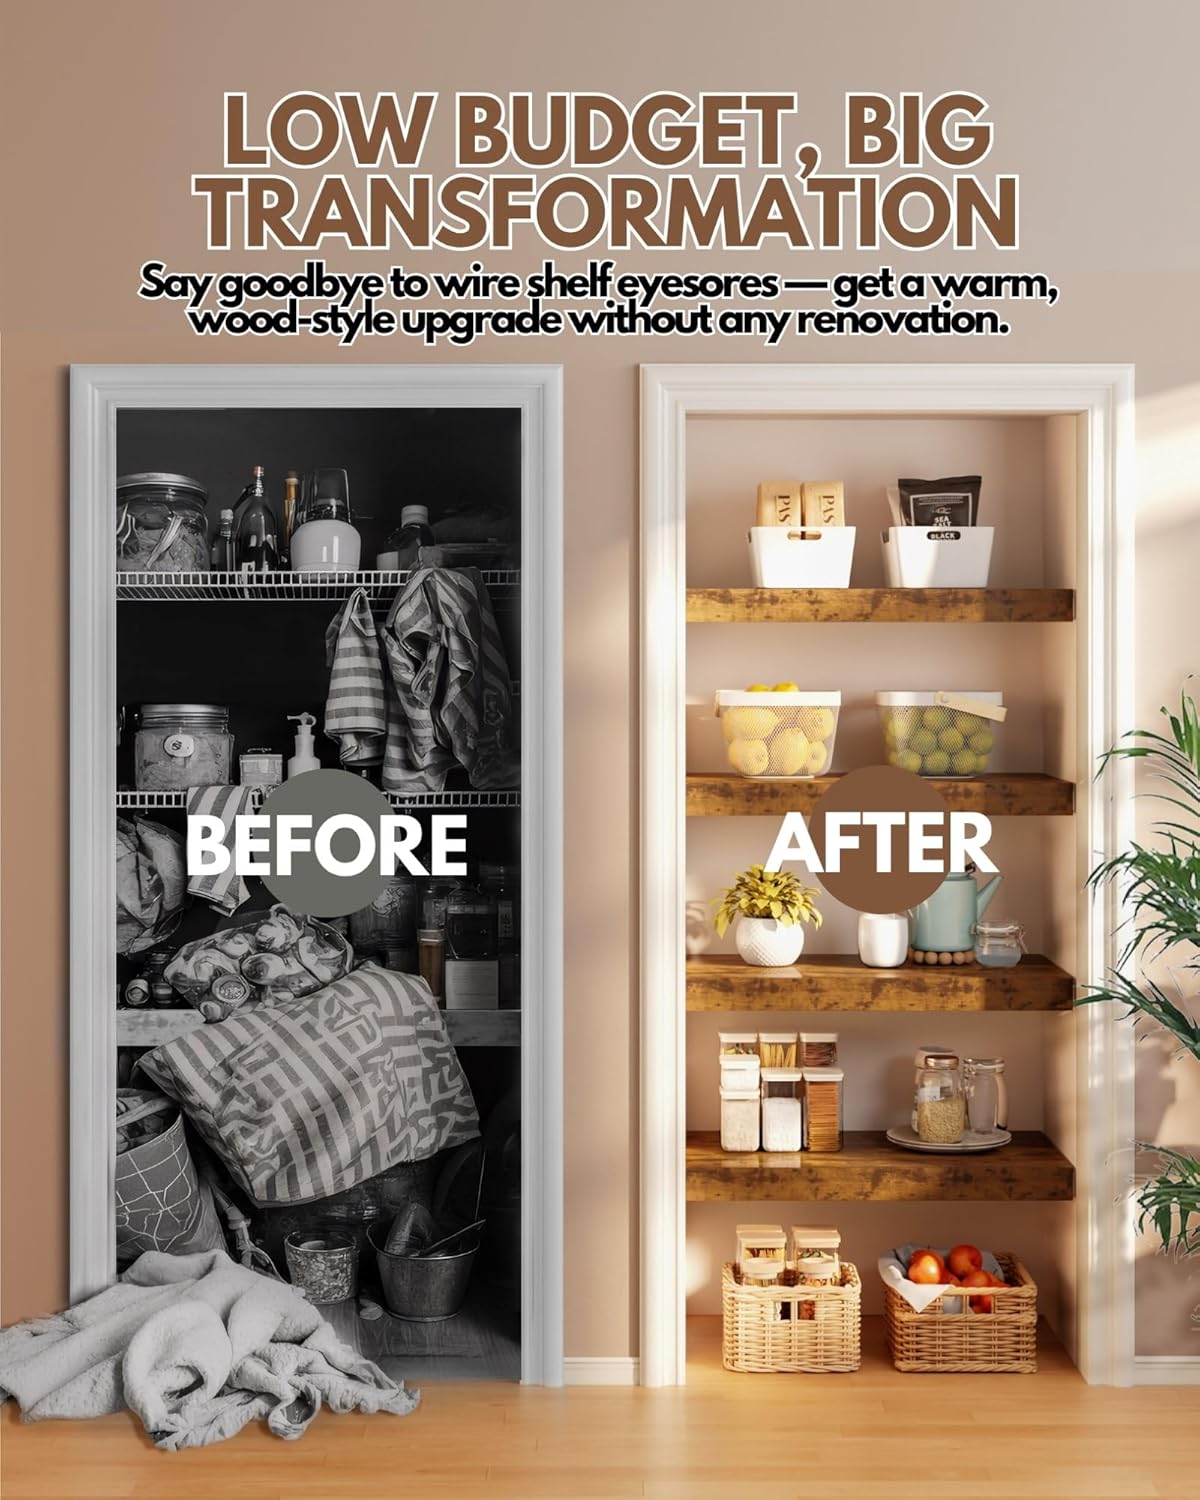
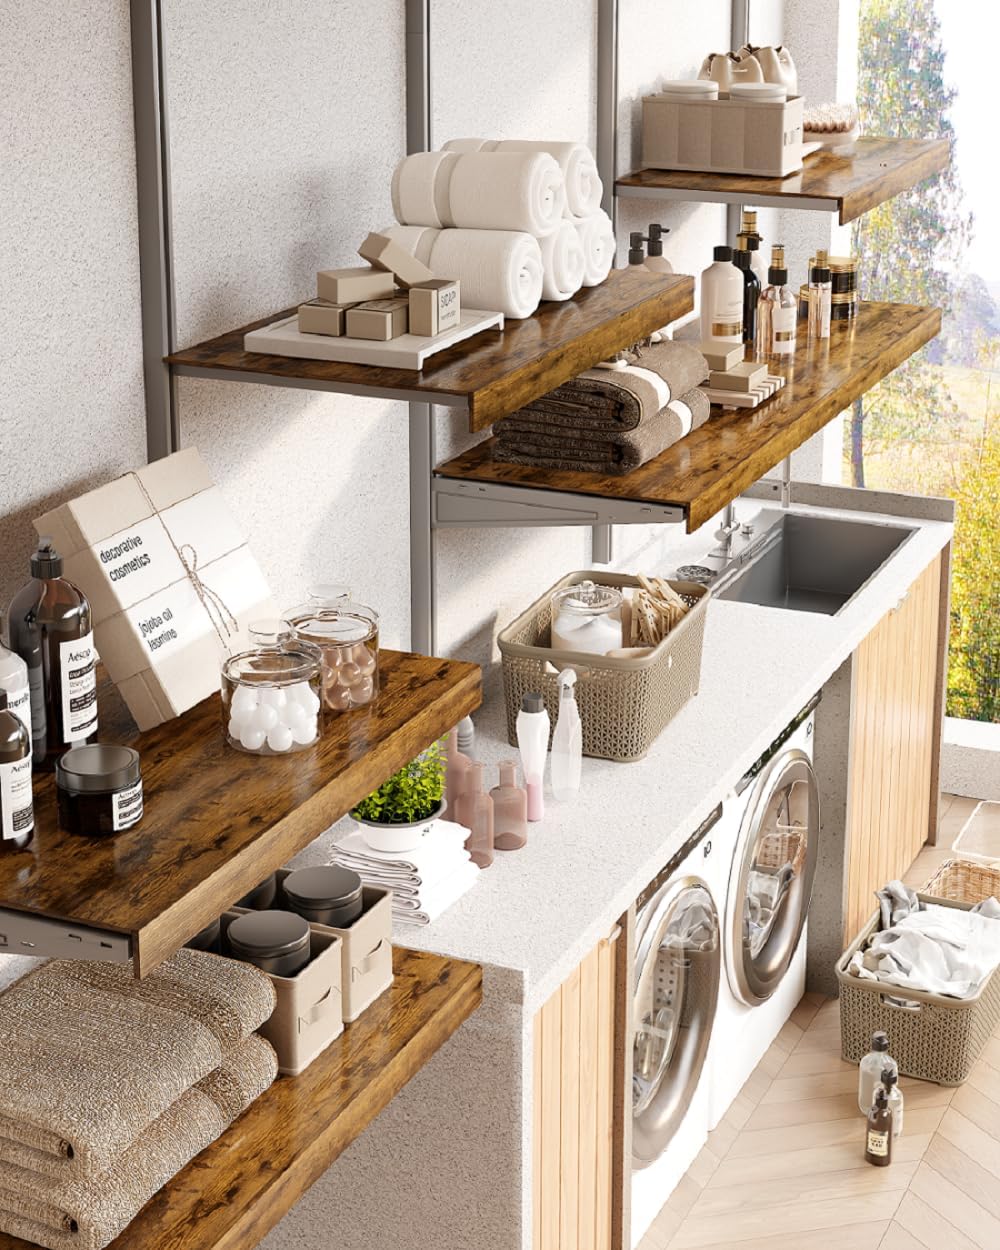
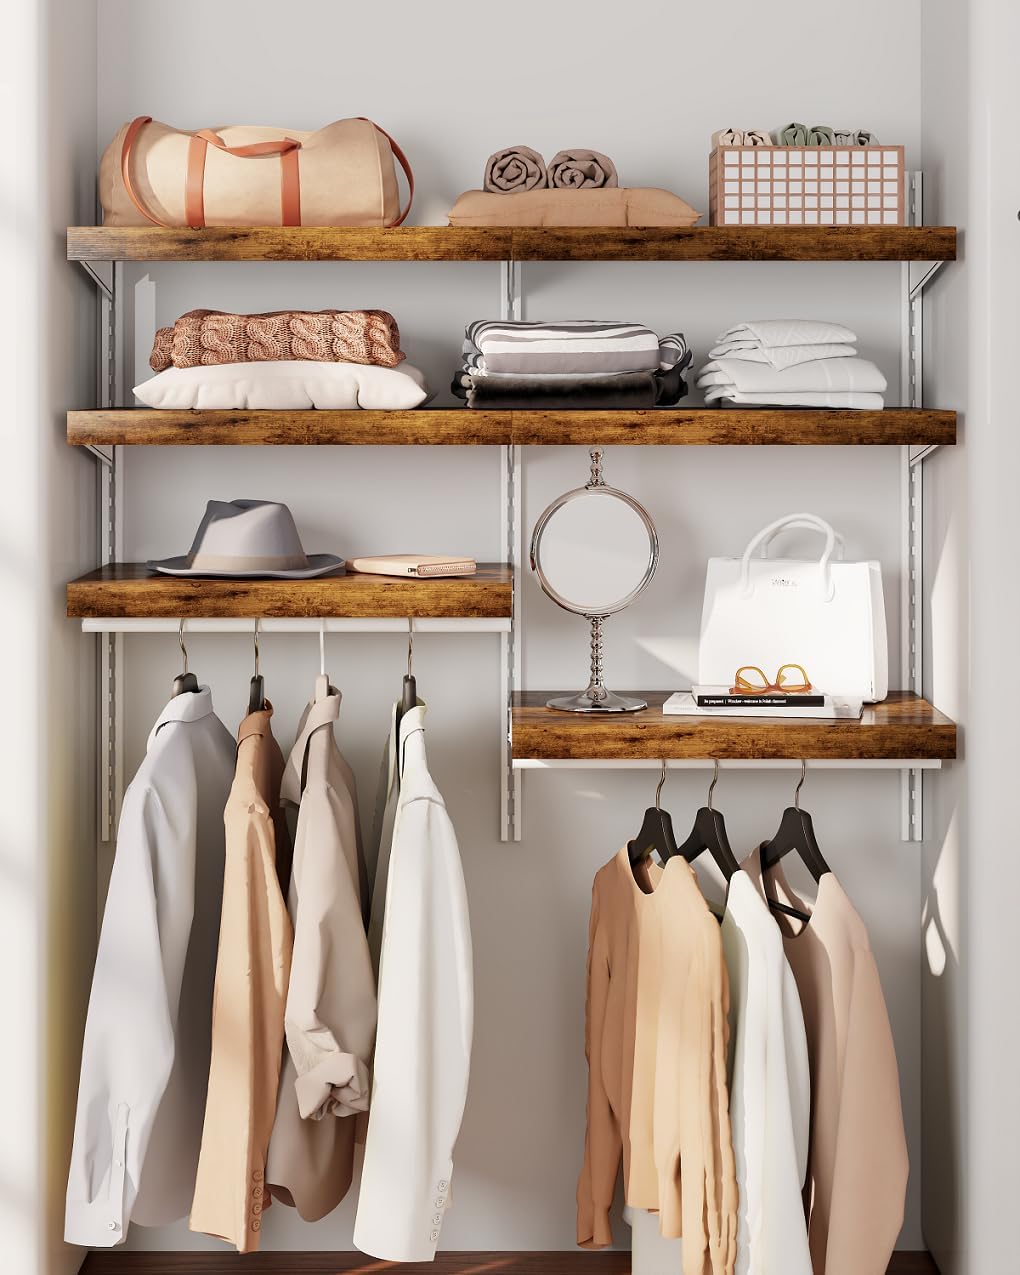
- [Rustic Look, No Renovation]: Transform cluttered Wire Shelving into stylish wood-style storage — no remodeling needed. These removable, reusable shelf covers are perfect for renters and frequent movers
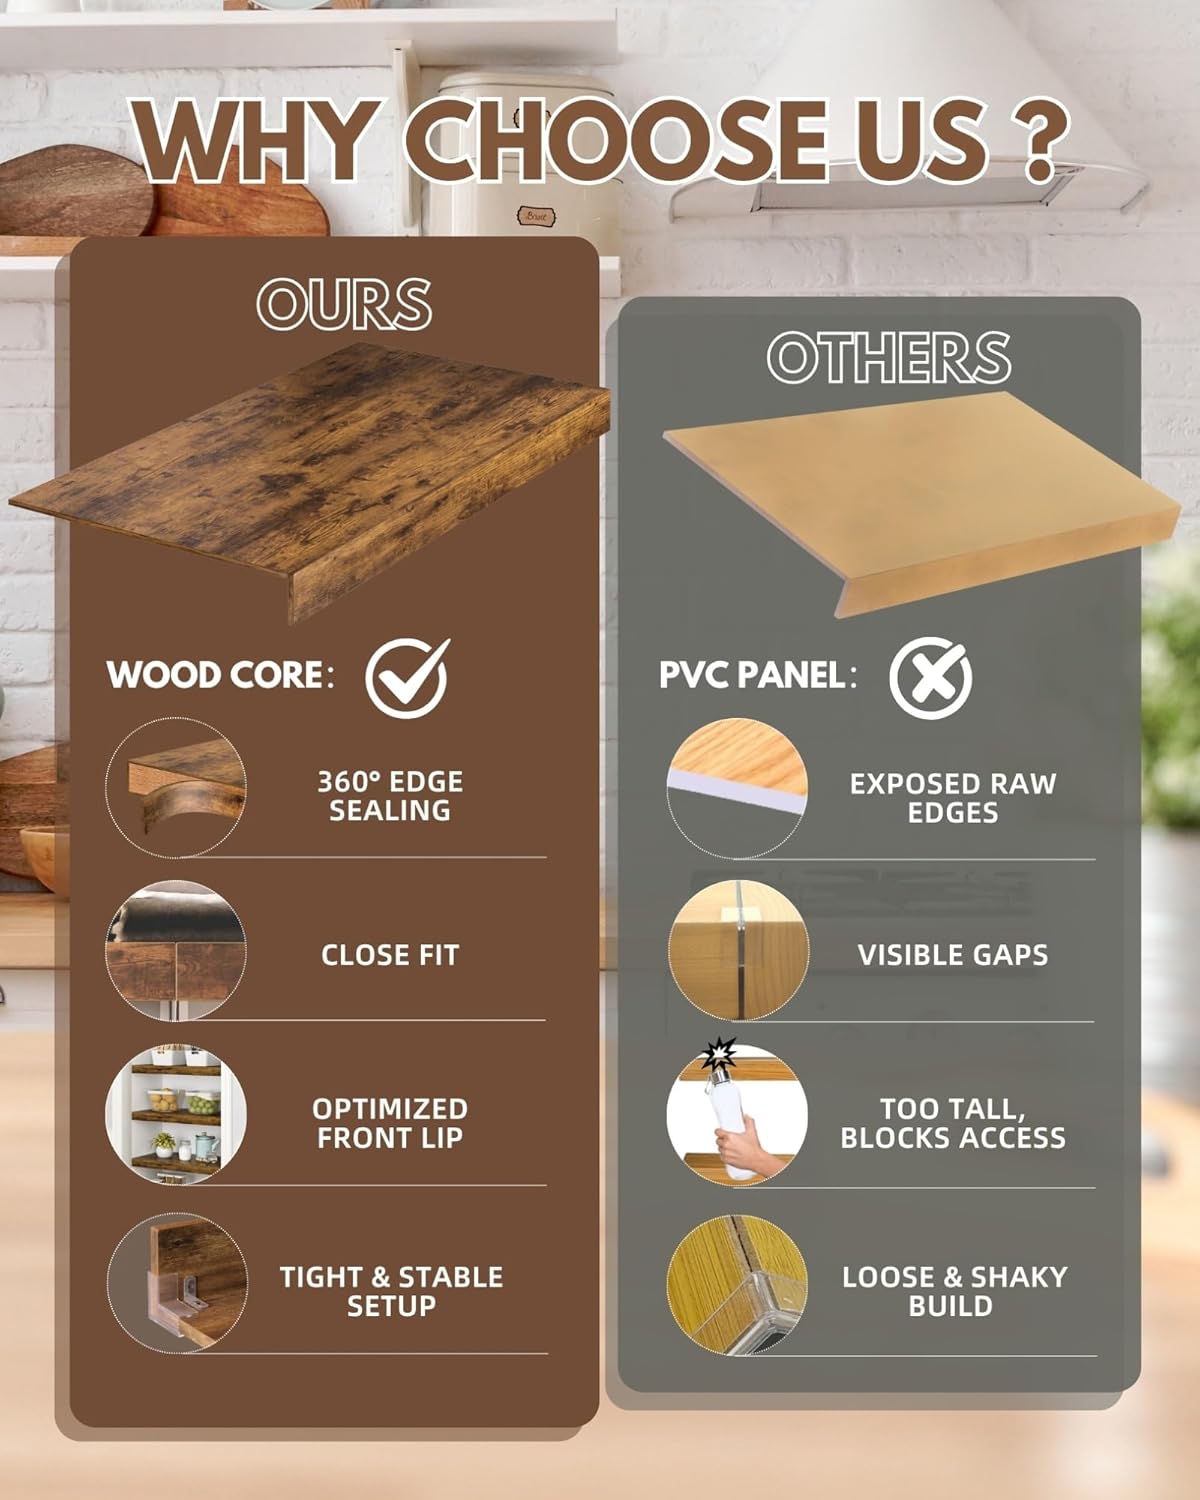
- [Secure, Simple Assembly]: Install in just two quick steps using a screwdriver. Metal brackets firmly connect panels, creating a tighter and more stable front lip than clip-on boards. Video included
- [Refined, Sealed Finish]: Each wire shelf cover is hand-finished with smooth, 360°sealed edges — no sharp corners. Moisture- and stain-resistant coating ensures easy cleaning and long-lasting beauty
- [Fits Most Wire Shelves]: Available in 4- or 5-piece sets across 8 total sizes. Designed to fit pantry, linen closet, kitchen, laundry room, utility, garage, or wall-mounted wire shelf — tight seams reduce visible gaps


| Size | 30"W × 12"D |
|---|---|
| Color | Aged Walnut |
| Shape | Rectangular |
| Room Type | Closet, Garage, Kitchen, Laundry Room, Pantry |
| Brand Name | Makentra |
| Model Name | W01-3012-5(2) |
| Shelf Type | Accent Shelf |
| Style Name | Country Rustic |
| Unit Count | 5.0 Count |
| Item Weight | 15.5 Pounds |
| Finish Types | Laminated |
| Manufacturer | Makentra |
| Model Number | W01-3012-5(2) |
| Product Name | Shelf Covers for Wire Shelving, Wire Shelf Cover, wire rack cover |
| Material Type | Engineered Wood |
| Mounting Type | Assembly Only — No Shelf Mounting |
| Item Dimensions | 12.01 x 29.92 x 2.56 inches |
| Number of Items | 5 |
| Furniture Finish | Melamine |
| Installation Type | Place-on Wire Shelf |
| Number Of Shelves | 5 |
| Required Assembly | Yes |
| Additional Features | Detachable, Reusable |
| Included Components | ①Metal L brackets and Screws ②L-shaped Plastic Clips ③Magnetic Screwdriver |
| Shelf Bracket Shape | Straight |
| Manufacturer Part Number | W01-3012-5(2) |
| Item Dimensions D x W x H | 12"D x 30"W x 2.5"H |
| Product Care Instructions | ① Wipe clean with a soft damp cloth. ② Avoid prolonged exposure to water. ③ Do not use abrasive cleaners or scrubbing tools. |
| Specific Uses For Product | Decorative Items |
| Recommended Uses For Product | Closet Shelf Covers, Garage Wire Racks, Laundry Room Organization, Pantry shelf organization, Utility Storage Shelves |
| Assembly Instructions Description | Step 1 – Connect the Boards Lay Board A flat. Place Board B upright along the front edge of Board A (90° angle). Use the L-shaped plastic clips on both sides to hold the boards together. Step 2 – Attach Metal Brackets Align the 3 metal L brackets with the pre-drilled holes. Fasten each bracket with 4 screws using a screwdriver. Ensure the brackets sit flush with the boards. Step 3 – (Optional) You may remove the plastic clips after assembly or leave them for extra stability. |


Correction of product information
If you notice any omissions or errors in the product information on this page, please use the correction request form below.
Correction Request Form